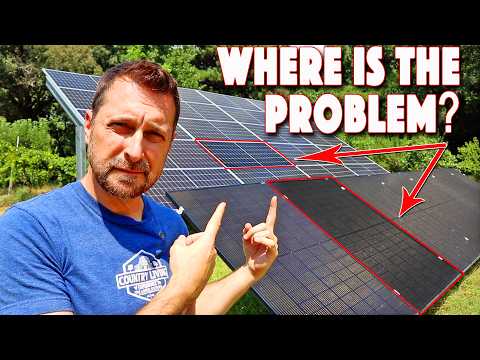
Your Solar Panels Look Fine…So Why Isn’t Your System Working? Steps To Find The Issue.
AI Summary
This video outlines steps and tools for troubleshooting solar panel and system problems, particularly when production drops. The initial steps involve checking inverter settings and connections for proper operation. If these are fine, the issue likely lies with the panels. Indicators of a problem include slow battery charging, overloaded inverters, or insufficient power output.
The best starting point is to verify inverter settings and then use the monitoring app to ensure each PV string is producing as expected. If not, check if a specific Maximum Power Point Tracking (MPPT) input is faulty by switching strings and observing changes in the monitoring app.
Next, isolate and disconnect the problematic PV string from the inverter to individually check each panel's voltage. Ensure each panel's voltage matches its information sticker and that all panels in the string have consistent voltage. Also, check all connection points for proper tightening and consistent voltage flow.
If voltage is consistent, the problem is likely with amperage or current. A DC clamp meter can measure current in PV conductors. Fluctuating amperage indicates high resistance (e.g., a bad connector) or low resistance (e.g., a short circuit from a cut wire). Thermal cameras can detect hot spots indicating loose connections.
Another cause for fluctuating current with consistent voltage is a faulty bypass diode within a panel. To find this, isolate panels one at a time within the string and check for continued amperage fluctuation.
Finally, ensure your MPPT's operating voltage range is met. If a string's voltage falls below the minimum threshold, the MPPT will shut off, preventing power draw. This can happen if panels lose efficiency over time. It's recommended to stay 10-15% under the maximum voltage for each string.